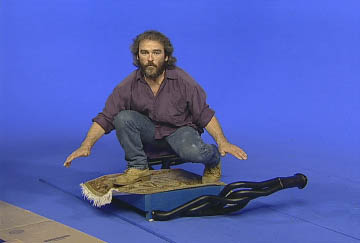

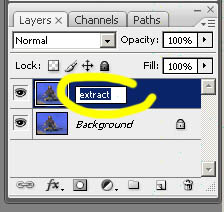
Note that you shouldn't be too careful here -- remember that one day you might be doing a shot that's 800 frames long.
This matte should work for all [or at least most] frames, so you don't have the luxury of drawing a close line around all the characters.
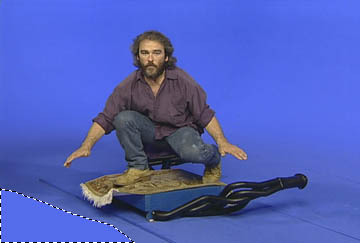
This step is often forgotten, so if doing the Levels gets hard [needs to be pushed to get good results] then stop and go back to this step3) Pull a partial matte from the blue channel using levels
Look at the blue channel in Photoshop -- click on the "Channels tab" next to the "Layers" tab.
Note how the blue channel is nearly white where it is blue, and nearly dark where the character is.
First of all, we want the opposite (the character area to be white and the background to be black) so invert the blue channel. Be sure you hilight the blue channel (so that it is the only channel that dark)
Then choose Image->Adjustments->Invert
(The "extract" layer is going to start looking really weird at this point!)
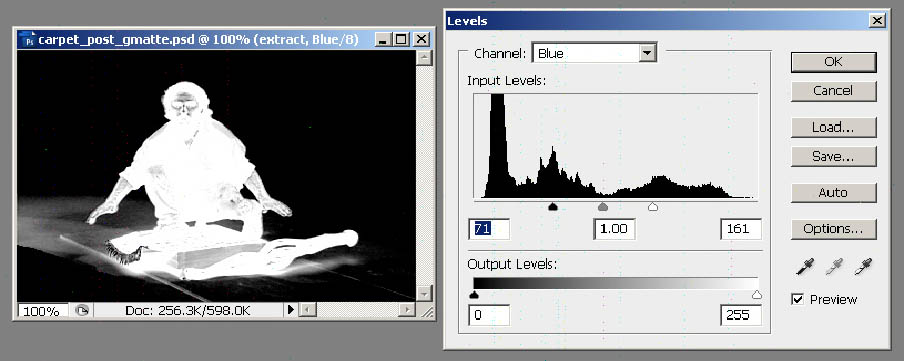
Now you want to make the background as black as possible and the character as white as possible.
Use Image --> Adjustments --> Levels [not the adjustment layer, because you're doing this on a channel, not a layer.]
FG ==> white, BG ==> black
Note that you don't want to push the levels too much. This will make the edges jaggy -- which is bad, because in motion they will look like they're "crawling"!
Note also that there's still some areas in the FG that are still black -- these areas will be transparant if we don't correct them. This is corrected next using the red channel.
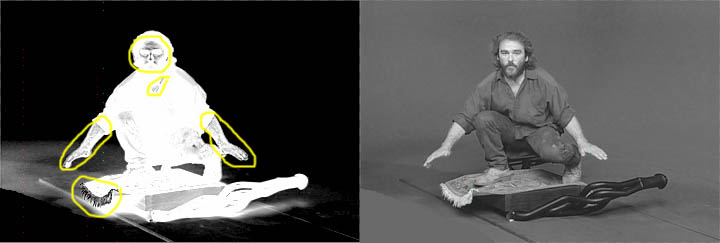
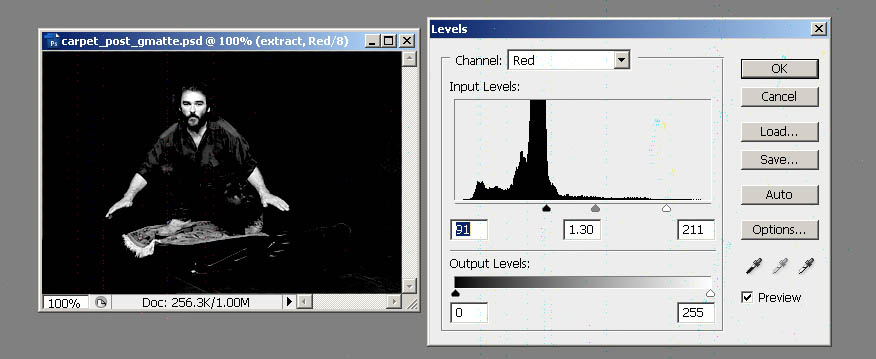
Use Image->Adjustments->Levels again to adjust the red channel
FG ==> black, BG ==> white
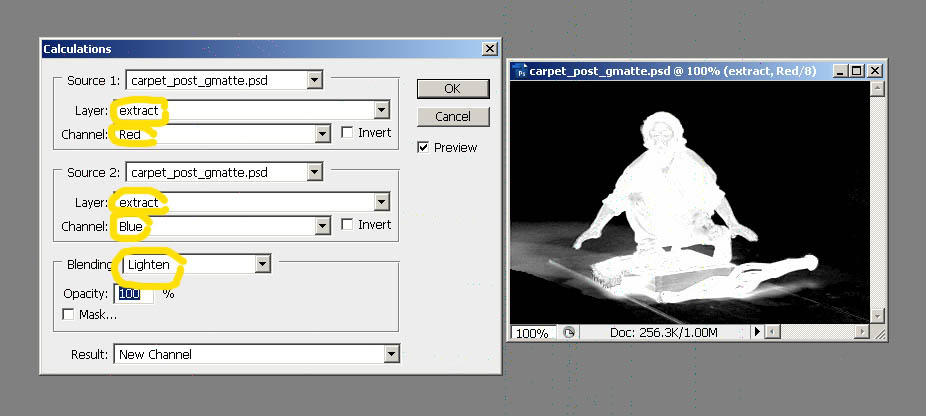
In the Calculations popup, check these things top to bottom:
Layer is “extract” not “Merged”
Channel is red [or blue]
Second layer is “extract” not “Merged” [default]
Channel is blue [or red -- the other one]
“Blending” is set to “Lighten”
With preview on, it should now look like a good mask with the FG black and BG white
Click Okay
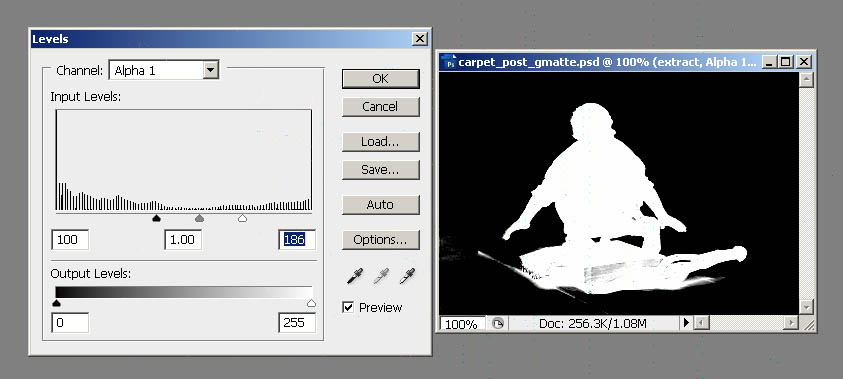
This seems to throw people, so here’re the steps
a) Copy the original
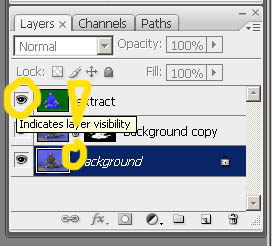
b) Turn off visibility for the background and the extract layers so only this copy layer is visible
c) Make a layer mask [you can click the [O] button on the bottom of the Layers tab]
d) Click the Channels tab [next to Layers tab]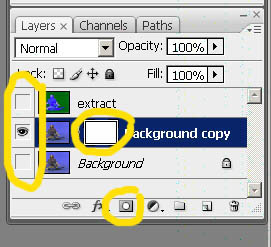
e) Copy the new mask the the clipboard
f) Click on the mask so it is solely visible and selected
g) Select all [Select --> All or CTRL-A]
h) Copy [Edit --> Copy or CTRL-C]
i) [In this order!] Click the mask “eyeball” so it’s visible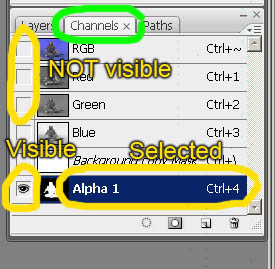
j) Click the RGB eyeball os it’s off [all should go off now except the mask]
k) Click the mask entry itself so it is hilited [people miss this step – the mask channel must be selected as well as visible.]
l) Paste [Edit --> Copy or CTRL-C]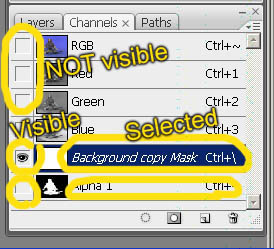
m) Now make your work visible:
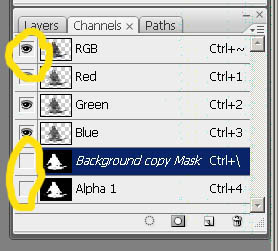
It should look like this:
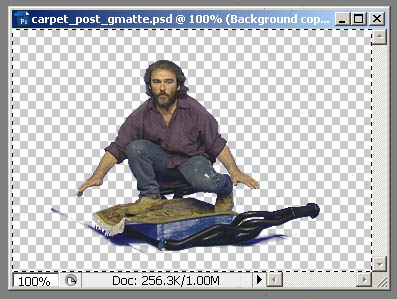 Did something go wrong?
If it pasted into all channels, you did not click on the Mask channel to hilite it
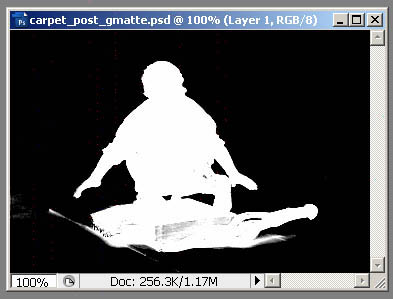
If it looks like ti didn’t work, then the background layer and/or the extract layer is still visible. Turn these off in the Layers tab by clicking their “eyeballs”
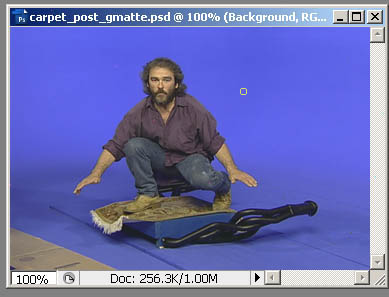
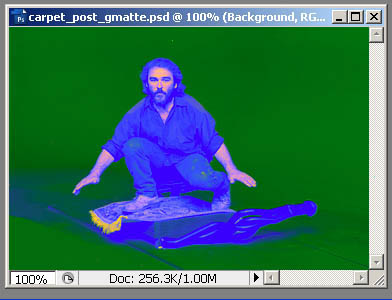
Note: there are some small artifacts in some of the images. The graphics card is broken on this machine and left them there. Didn't feel like cleaning them up...
Also, I admit my image file has a different name. Oops! Didn't feel like rmaking the files to correct that either.
I hope this was useful!!